Crankcase Splitting
SAFETY FIRST: Protective gloves and eyewear are recommended at this point.
Remove the engine from the frame. See the Engine Removal topic for more information.
Remove the cylinder head. See the Cylinder Head Removal topic for more information.
Remove the cylinder and pistons. See the Cylinder and Pistons topic.
Remove the starter motor. See the Starter Motor topic for more information.
Remove the generator. See the Generator topic for more information.
Remove the signal generator and oil pressure switch. See the Signal Generator topic for more information.
Remove the clutch. See the Clutch topic for more information.
Remove the gearshift. See the Gearshift topic for more information.
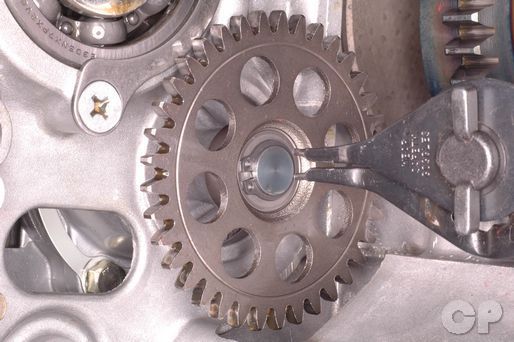


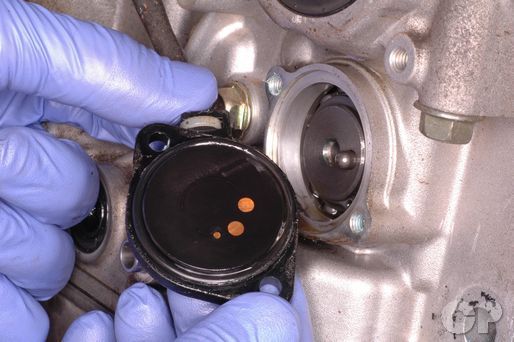
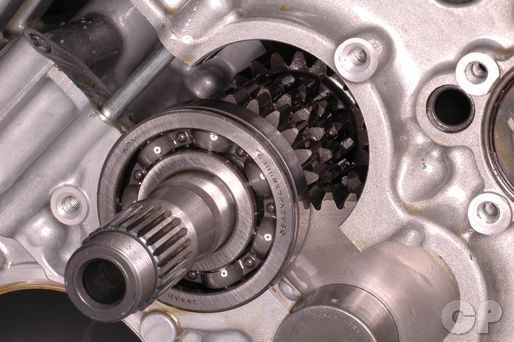
Remove the oil pump driven gear snap ring with snap ring pliers. Remove the oil pump driven gear and washer.
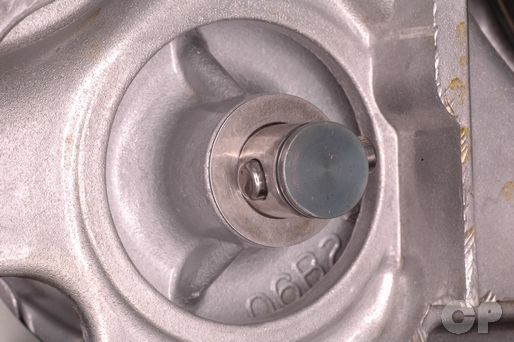


Remove the oil pump driven gear pin and washer.
Remove the starter clutch and idle gear. See the Starter Clutch topic for more information.
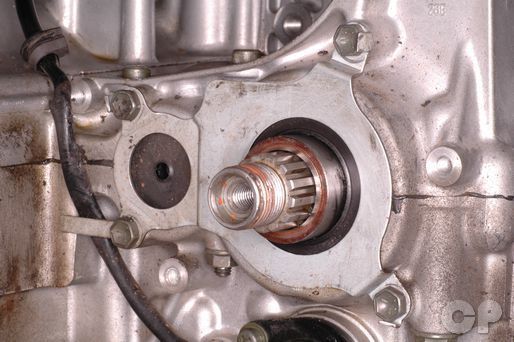


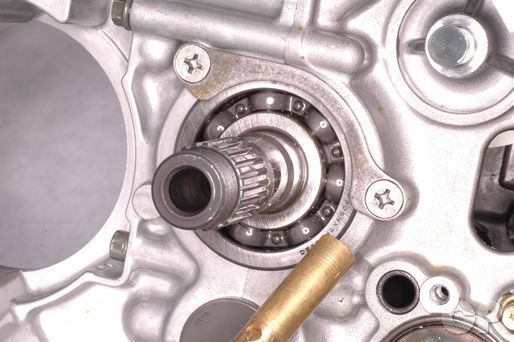
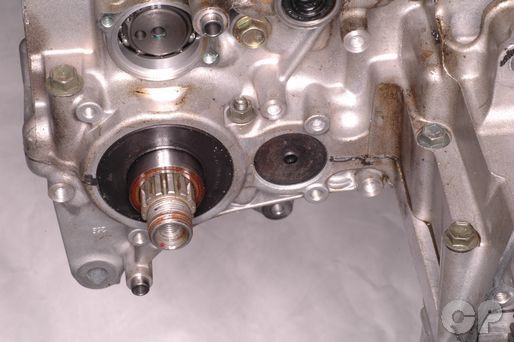
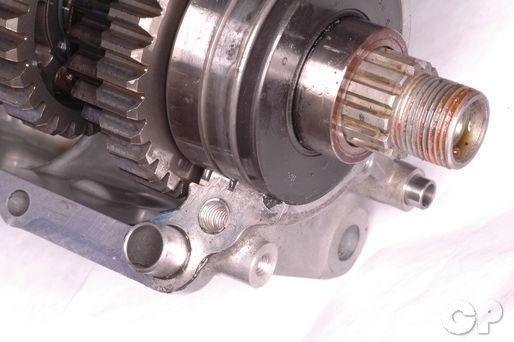
Flatten the locking tabs on the countershaft seal retainer with a punch and a hammer.


Loosen the four countershaft seal retainer bolts with a 10 mm socket.
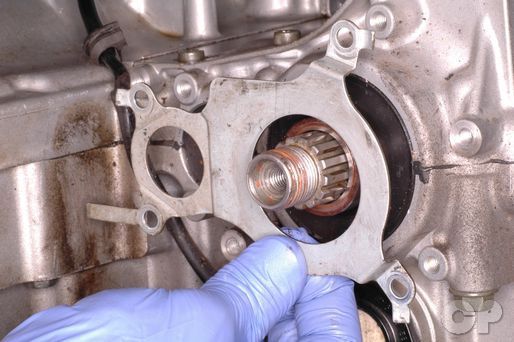
Remove the countershaft seal retainer plate.


Remove the two neutral switch screws with a #2 Phillips screwdriver.
Remove the neutral switch and O-ring from the engine.


Remove the switch contact and spring from the shift drum.
To remove the mainshaft bearing retainer you may have to heat the bolts.
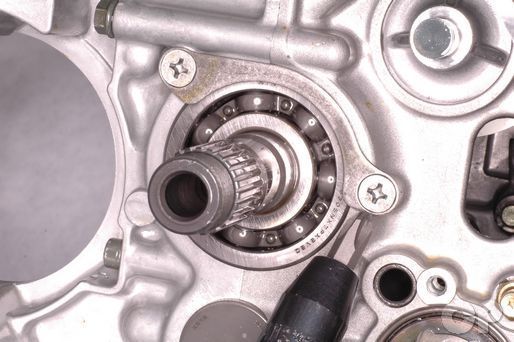


Loosen the mainshaft bearing retainer screws with a #3 Phillips impact screwdriver. Remove the screws and the retainer from the crankcase.
Note the location of the crankcase bolts so that they can be returned properly during reassembly.
Remove the plug above the generator mount on the upper crankcase.


Remove the upper crankcase bolt with a 5 mm Allen. On the 750 models you can remove a plug above this bolt to make removal easier.


Remove the upper crankcase nut with a 10 mm wrench.


Remove the three rear upper crankcase bolts with a 10 mm socket.


Remove the middle upper crankcase bolt with a 10 mm socket.


Remove the two left upper crankcase bolts with a 5 mm Allen.
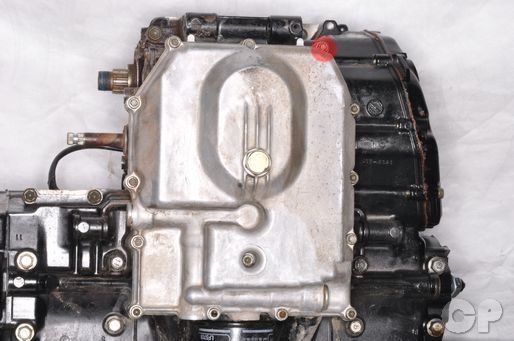


Loosen the 14 oil pan bolts evenly with a 5 mm Allen. Remove the bolts. The indicated bolt has a sealing washer.
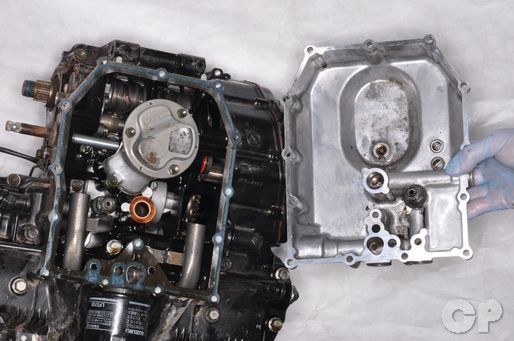
Remove the oil pan from the bottom crankcase half.


Remove the oil pan gasket, shim and O-ring. Scrape off any remaining oil pan gasket material.
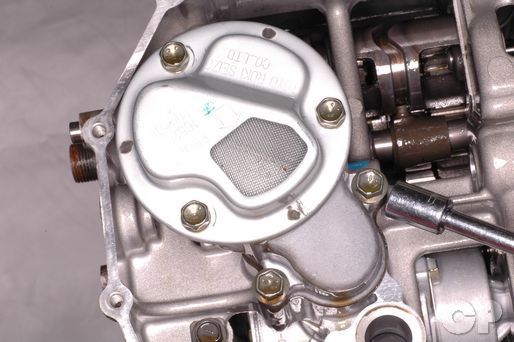


Remove the two oil sump filter bolts with a 10 mm socket. Remove the oil sump filter and gasket from the engine.
Scrape away any old gasket material. Clean out the oil sump filter with a high flash-point solvent and compressed air.
NOTE: Always wear safety glasses when using compressed air and never point it directly at yourself or anyone else.


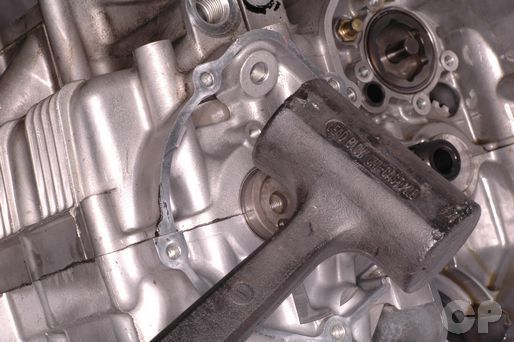
Remove the oil return pipe bolt with a 10 mm socket. Remove the oil return pipe from the engine.
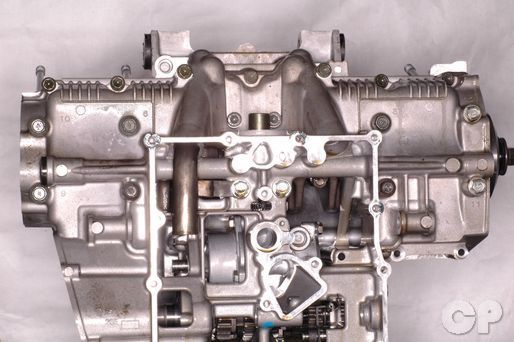


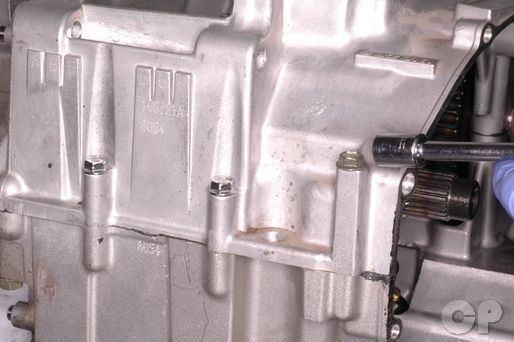
Remove the seven forward lower crankcase bolts with a 10 mm socket.


Remove the two left lower crankcase bolts with a 10 mm socket. The outside bolt has a sealing washer.


Remove the left rear lower crankcase nut with a 10 mm wrench.


Remove the rear lower crankcase bolt with a 12 mm socket.


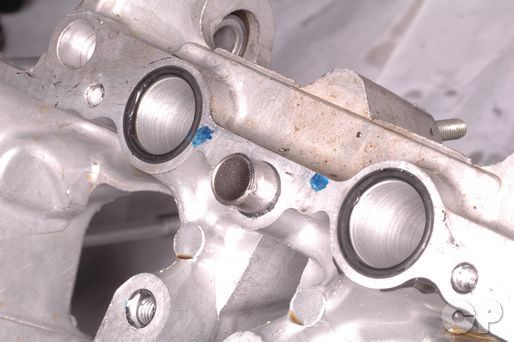
Remove the main oil galley plug with an 8 mm Allen. Remove the O-ring.
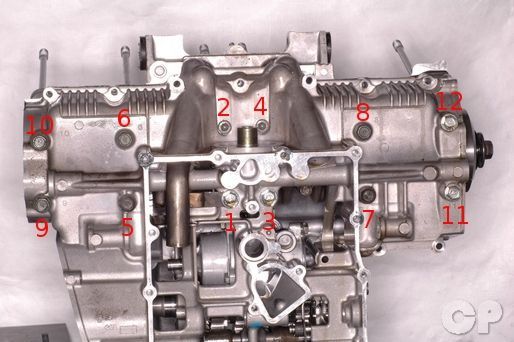


Loosen the crankcase bolts a little bit at a time in descending order. Remove the oil pipe with the number one bolt.


Loosen the two and four bolts with a 6 mm Allen.


Loosen the rest of the bolts with a 12 mm socket.


The number 9 and 11 bolts have sealing washers with them.
Set the engine so that the lower crankcase half faces up.
Gently tap the sides of the lower crankcase half to free it from the upper.


Make sure the crankshaft journal bearings do not fall out of the lower crankcase half.


Lift the crankcase half off of the dowel pins and studs.
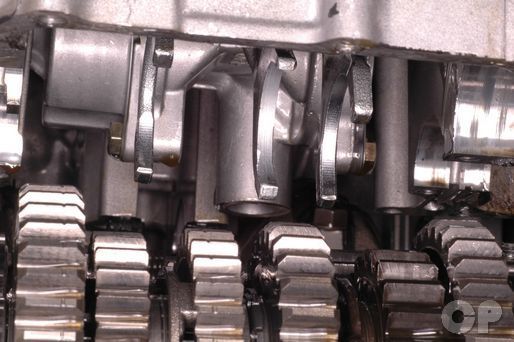
Free the shift forks from the transmission shafts.


Lift the lower crankcase half off of the upper case half.
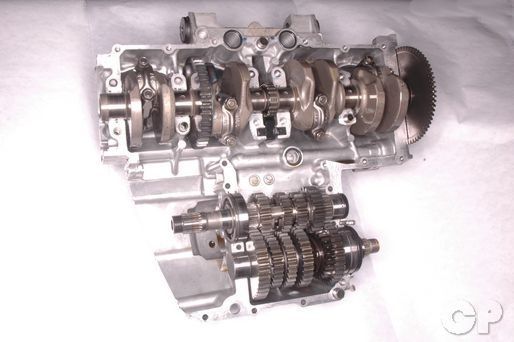
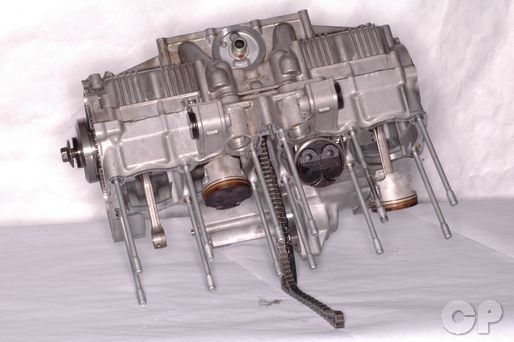
The upper crankcase half houses the crankshaft and the transmission shafts.
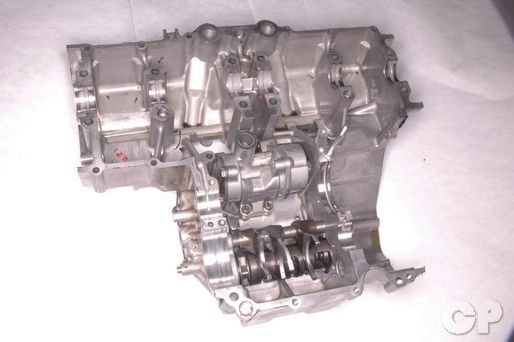
The lower crankcase half houses the shift forks, shift drum, and oil pump.
To remove the transmission see the Transmission topic.
To remove the crankshaft see the Crankshaft topic.
To remove the oil pump see the Oil Pump topic.


Remove the crankcase O-rings and discard them.


Remove the crankcase dowel pins.
For crankcase assembly see the Crankcase Assembly topic.
Copyright 2025 - Cyclepedia Press LLC

Note: If you are viewing this document offline be sure to visit the latest version online at http://www.cyclepedia.com before attempting any repairs. Updates are made without notice.